
Hair oil has revolutionized modern hair care, not only improving dryness and frizz but also making styles smoother and shinier. However, many people make the same mistakes when using hair oil , especially the first step. Most users deviate from the correct preparation process before applying hair oil , directly impacting its effectiveness and hair health.
Hair oil is not a panacea; its effectiveness depends on various factors, including the order of application, the amount used, and the condition of the hair and scalp. Without proper preparation, hair oil can easily lead to problems such as greasiness, flat hair, and even scalp discomfort. Understanding and mastering the steps before applying hair oil is an often overlooked but crucial part of hair care.
Step 1: Thoroughly clean your hair and scalp.
Most people overlook the most basic step before using hair oil—thoroughly cleansing their hair and scalp. Many believe hair oil can be applied directly to wet or dry hair, neglecting proper cleansing. This significantly reduces the effectiveness of the oil and may even cause scalp problems.
The scalp naturally secretes oil and sweat and accumulates dead skin cells and dirt. If hair oil is applied directly , these oils and impurities mix with the oil , forming a thick film that not only affects hair smoothness but may also clog hair follicles, leading to increased oiliness, itching, or dandruff. Even on dry sections of hair from mid-length to ends, if the oil is applied to uncleaned hair, it cannot fully penetrate the cuticles, resulting in uneven results.
Thorough cleansing involves more than just shampooing to remove surface dirt; it also includes choosing shampoo and conditioner suitable for your hair and scalp type and ensuring thorough rinsing. During shampooing, pay attention to water temperature to avoid damaging the scalp barrier with excessively hot water. Gently massage the scalp to promote blood circulation, creating a healthy foundation for the effective use of hair oil .

Step 2: Dry properly, avoiding over-wetting or complete drying.
hair oil directly to damp hair , believing it will allow for better absorption. This is actually a common mistake. When hair is wet, the moisture dilutes the oil, preventing it from adhering evenly and leading to localized oiliness or insufficient oil absorption at the ends. Ideally, hair should be slightly damp or about 70-80% dry.
At this temperature, the hair cuticles are slightly open, allowing for easier absorption of the hair oil without it slipping off due to excess moisture. Applying hair oil directly to overly dry hair will hinder absorption because the cuticles will be closed, resulting in less than ideal results. When blow-drying, pay attention to the air temperature and distance to avoid damaging the cuticles with high heat. Use a low airflow and medium temperature, blow-drying evenly from roots to ends to ensure optimal absorption. Only when hair is properly damp can the hair oil effectively smooth and repair while reducing greasiness.
Step 3: Divide the hair into even sections and control the amount of hair oil used.
Before using hair oil , many people simply pour a handful onto their hand and apply it all over their head. While this seems convenient, it easily leads to uneven application and overly oily areas, especially when there’s a significant difference in oil distribution between the top and ends.
The correct approach is to section your hair and apply the oil from the bottom up, controlling the amount used in each section. More hair oil isn’t necessarily better; the key is even coverage and penetration of the hair cuticle. Using too much oil at once can cause it to accumulate around the scalp, leading to greasiness, flatness, and increased difficulty in cleaning; using too little will diminish its repairing and smoothing effects.
The method for controlling the amount used is to adjust according to hair length, thickness, and dryness. A few drops are usually enough for short hair, while medium-length and dry hair may require a slightly larger amount, but it should be applied in several applications. By sectioning and controlling the amount, the hair oil can adhere evenly, providing smoothness and protection to every strand, preventing an overly oily top and dry ends.
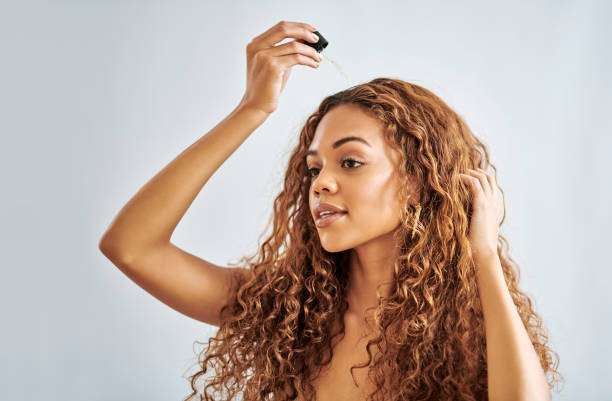
Step 4: Do the ends of the hair first, then cover the middle section, trying to avoid the scalp.
Many people habitually apply hair oil from the roots, especially those seeking smoothness and shine. However, applying hair oil directly to the scalp can actually harm scalp health. The scalp has its own sebaceous gland system that secretes oil to maintain ecological balance. Adding a high concentration of oil to the scalp can easily disrupt this sebum secretion rhythm, leading to increased oiliness, itching, and even clogged hair follicles.
The correct order is to first apply the oil evenly to the ends of the hair, ensuring dry areas receive nourishment and repair, then gently extend it towards the mid-lengths to smooth the hair cuticles. If the scalp area requires additional care, choose a specialized scalp serum or a low-concentration, lightweight oil formula instead of applying hair oil directly . This segmented and sequential application method not only avoids burdening the scalp but also allows for better absorption of the oil into the hair strands, resulting in optimal styling and smoothness.
Step 5: Gently massage and wait for absorption.
The final crucial step is gentle massage and waiting for absorption. Many people immediately comb their hair or blow-dry it after application, which causes the oil to be unevenly distributed on the hair surface, or even drip, affecting the conditioning effect. Gentle massage helps the oil penetrate between the hair cuticles, ensuring even coverage, while also promoting blood circulation and improving microcirculation around the hair follicles.
The massage movements should be gentle; avoid pulling the hair strands to prevent damage to the cuticles or breakage. After application, wait a suitable amount of time for the oil to be naturally absorbed before styling or blow-drying. The waiting time depends on the type of oil and hair type; generally, three to five minutes is sufficient. Once fully absorbed, the hair will be smoother, softer, and noticeably shinier, without feeling greasy or heavy.

In summary: Proper preparation beforehand will double the effect of hair oil.
hair oil depends not only on its ingredients but also on proper preparation before use. Five interconnected steps—cleansing the scalp, controlling dryness, applying to sections, avoiding the scalp, gently massaging, and waiting for absorption—each directly impacts the final result. Many people neglect thorough cleansing in the first step, affecting subsequent steps and preventing the hair oil from reaching its full potential. Mastering the correct application method not only enhances smoothness and shine but also avoids scalp problems and hair oil waste. The science of hair care lies not in pursuing quantity and thickness, but in precisely mastering each step and respecting the natural rhythms of the scalp and hair.
FAQ
Q1: Why do many people make a mistake in the first step?
Most people neglect to thoroughly cleanse their scalp and hair, thinking that using essential oils directly can save time. However, dirt and residual oil can affect the absorption and effectiveness of essential oils , and may even lead to scalp problems in the long run.
Q2: Must essential oils be avoided on the scalp?
Generally yes. The scalp naturally produces a lot of oil, and applying essential oils directly can easily disrupt the oil balance. When the scalp needs care, you can choose a dedicated scalp serum or a low-concentration, lightweight oil product.
Q3: Do I have to wait for the hair oil to absorb after using it?
Yes. Gently massage it in and wait a few minutes to allow the hair oil to fully penetrate. This will smooth out the hair cuticles, resulting in better smoothness and shine, while reducing oiliness and slippage.